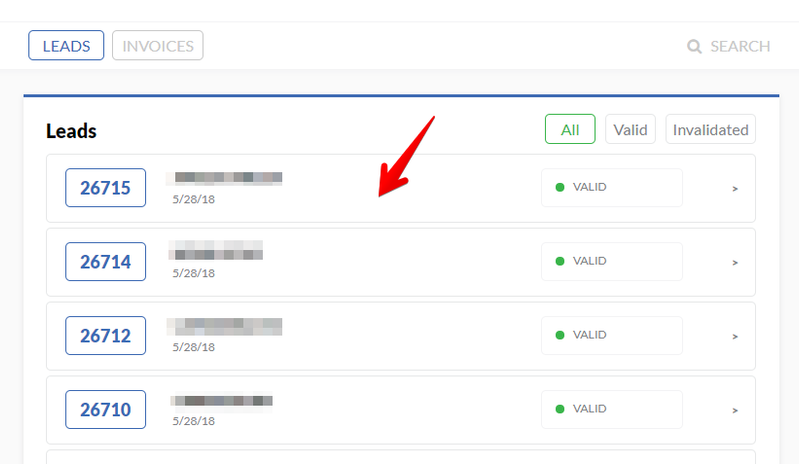
1) From your list of leads (or via the search functionality) find the lead you wish to invalidate and click on it. There is also a link in the lead itself typically that you can click on that will take you to that lead in the dashboard.
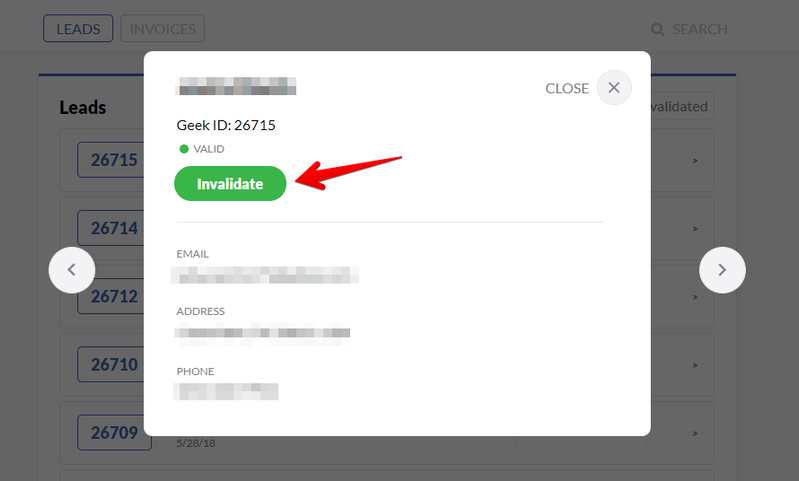
2) Click the invalidate button.
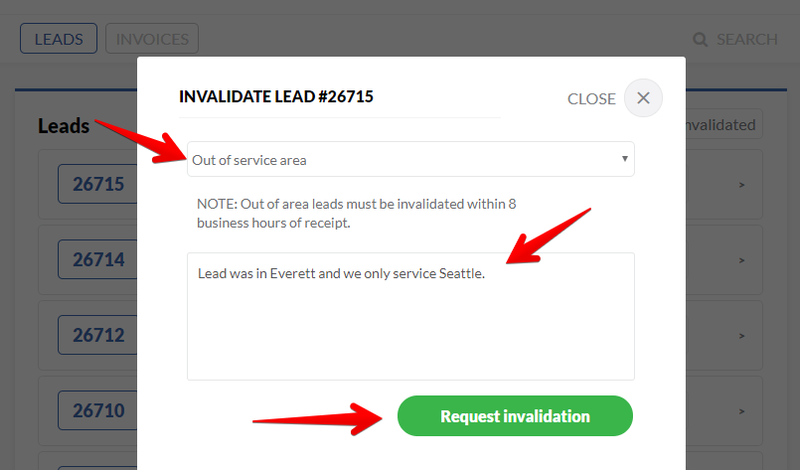
3) When you click “invalidate”, a box will pop up prompting you for more information about your invalidation. Select the reason for invalidation and enter any additional details in the text box. Finally, click “request invalidation” to send the request along to us.
What is the Geek Dashboard?
The Geek Dashboard is the best place for us to communicate back and forth about leads that we generate for you, as well as keep track of which leads are billed each week. In the Geek Dashboard, you can do the following:
SEE FULL LEAD LIST. Access a list of all the leads we've generated for you, as well as all their contact details.
SEE FULL INVOICE LIST. See a list of invoices detailing which leads you were billed for each week (For more information on this, go here).
INVALIDATE LEADS. Invalidate leads that you don't think you should be billed for (For more information on this, go here).
TRACK INVALIDATION STATUSES. Keep track of the status of your invalidations for leads and when they have been credited back to you.
Please note that we only accept invalidations through the Geek Dashboard! Please don't attempt to invalidate leads through email; we generate a LOT of leads and we don't want your requests getting lost (if they get lost you risk being billed for leads you shouldn't be. Email invalidation requests tend to get lost, which is why we built the dashboard originally).
How to Add or Remove Zip Codes
If you’d like to add or remove zip codes from your service area, you can do so easily from the dashboard. We’ll get into exactly how to do that in just a second, but first a couple things about adding and removing zip codes before that.
If you’re adding a whole new service area, use the “Add new area” option instead. If you want to add a handful of zip codes or zip codes tangential to your existing zip codes with us, using the add / remove zip code option is fine. However, if you’re adding something more akin to a new market, please go here for details on how to do that.
Removing too many zip codes can impact how good of a job we can do for you. There is only so much traffic out there for us to work with, so removing significant portions of your service will likely impact your volume with us. We understand that may be necessary for your business, but just want to set the expectation that it will likely impact what we can do for you.
With those two things out of the way, here is how you can edit your zip codes in our system.
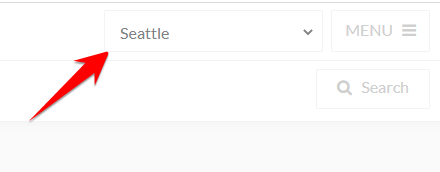
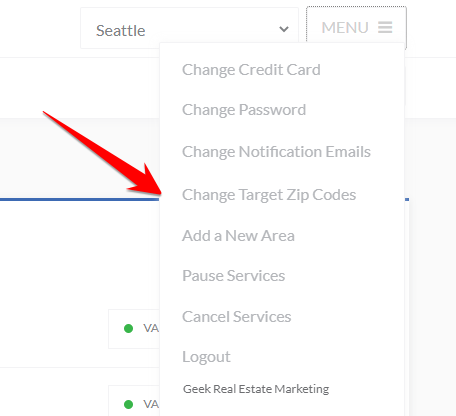
1) If you have multiple markets with Geek, be sure to select the appropriate market from the dropdown at the top of the screen.
2) Navigate to the “Menu” in the top right corner of the Geek Dashboard and select the “Change target zip codes” option.
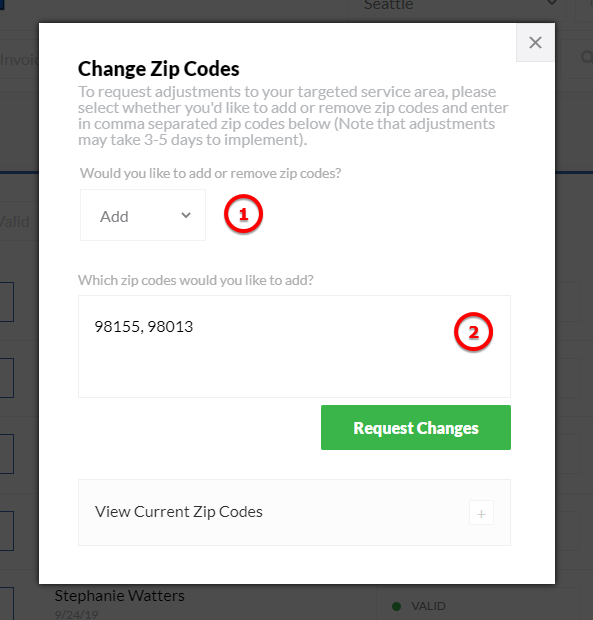
3) Select from the drop down whether you’d like to add or remove zip codes, then paste a comma separated list of the zip codes you’d like to remove in the box provided.
If you are unsure which zip codes we have listed for you in the system, click the [+] next to “View current zip codes” to show them.
4) Click the “Request change” button, then confirm your changes on the popup that follows. At this point, your requests will get sent to us for review. We should be able to approve them within the next few days after the submission of your request and make the necessary changes. You’ll be notified when the changes have been completed.